TIPS FOR DESIGNING A PHOTO ALBUM

FLUSH PRINTS
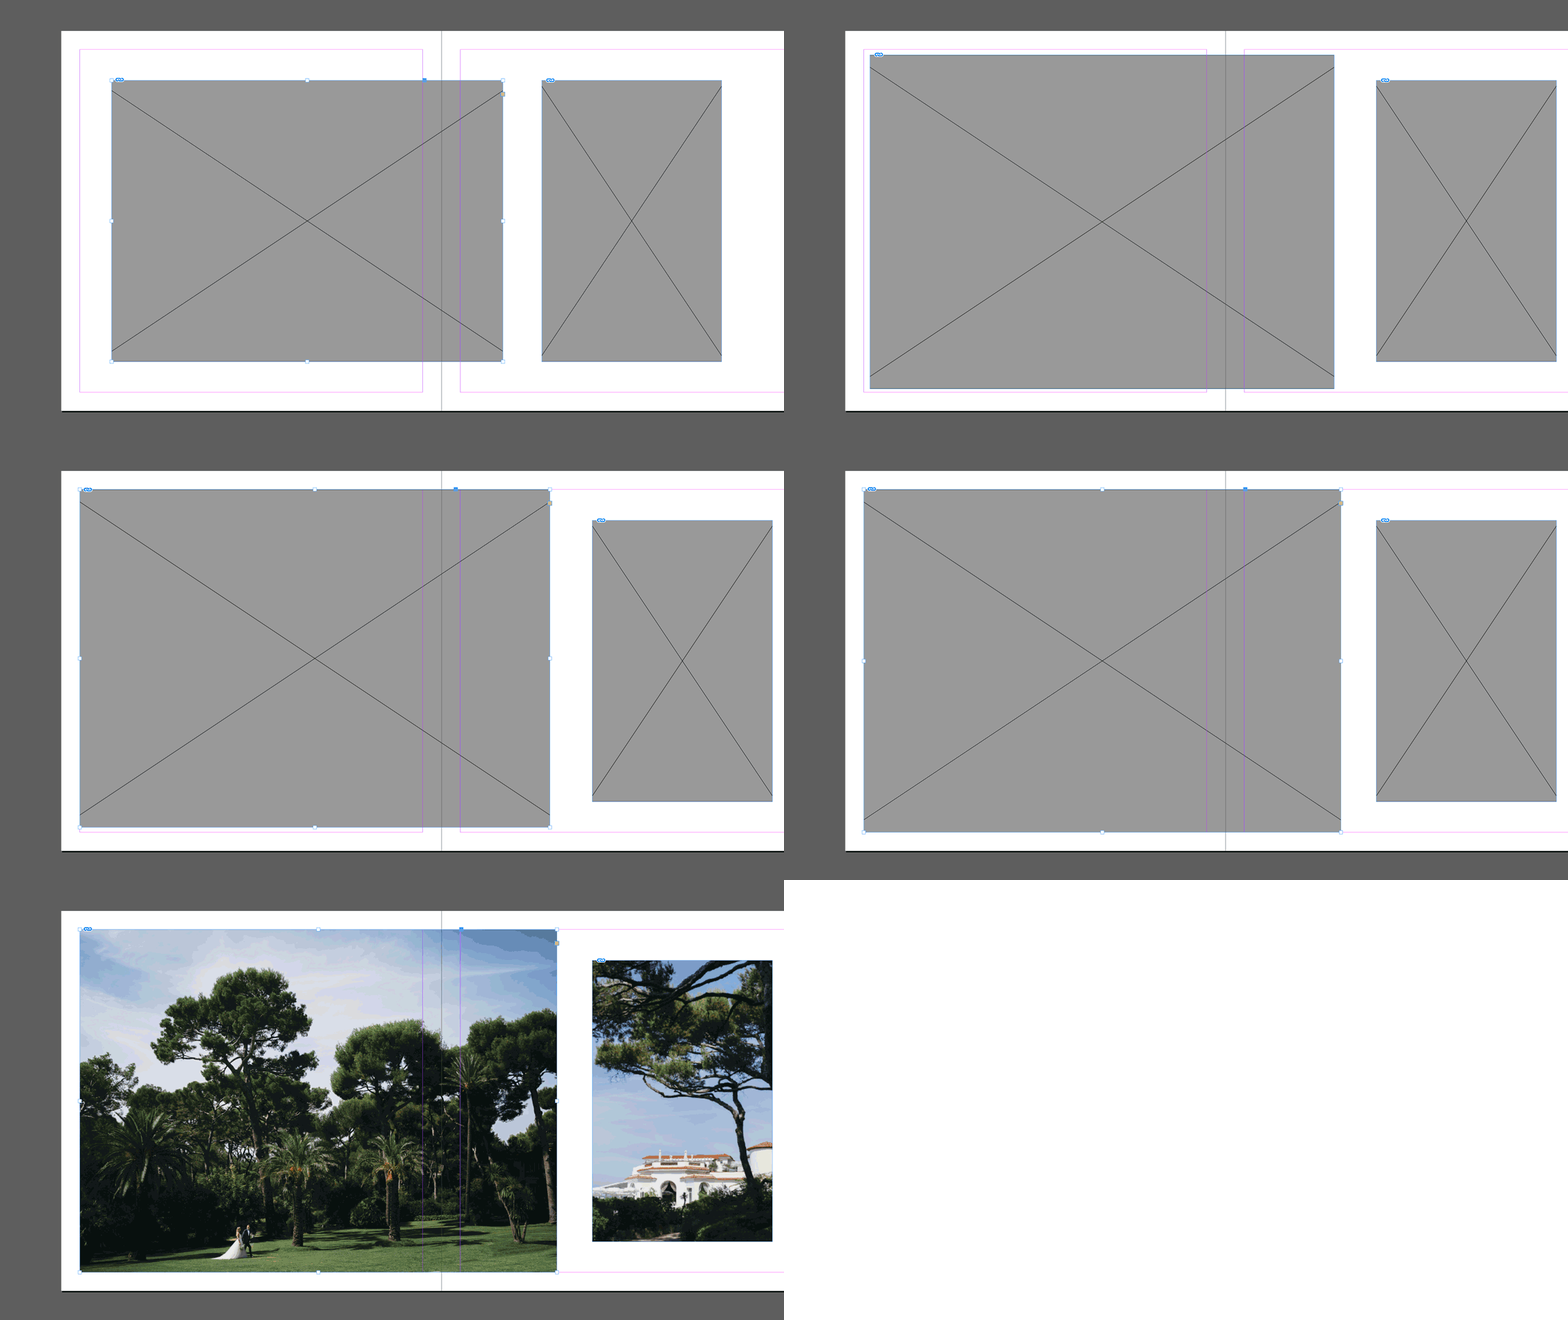
Place your photo right at the edge of the spread, to get a flush printed spread. We will cut 2-4mm of the edge. There will be cut a little bit more from the left and right sides. Don’t place important elements in this safety-margin.
You deliver complete spreads, no seperate pages or single photo’s. Don’t add a bleed to your design.

WHITE BORDER
Keep in mind to have sufficient white space around the spread if you want to have a white border around your design. The white border needs to be 1-2cm.
The templates are made for 30×30, 40x30cm album sizes. Spreads for a 15x15cm book are downscaled 50%. A white border in this album needs to be 2cm, so it will effectively become a 1cm white border.

WHITE BORDERS IN SMALL BOOKS
White border around a small book needs to be designed with at least 2cm of white space.

MIND THE FOLD
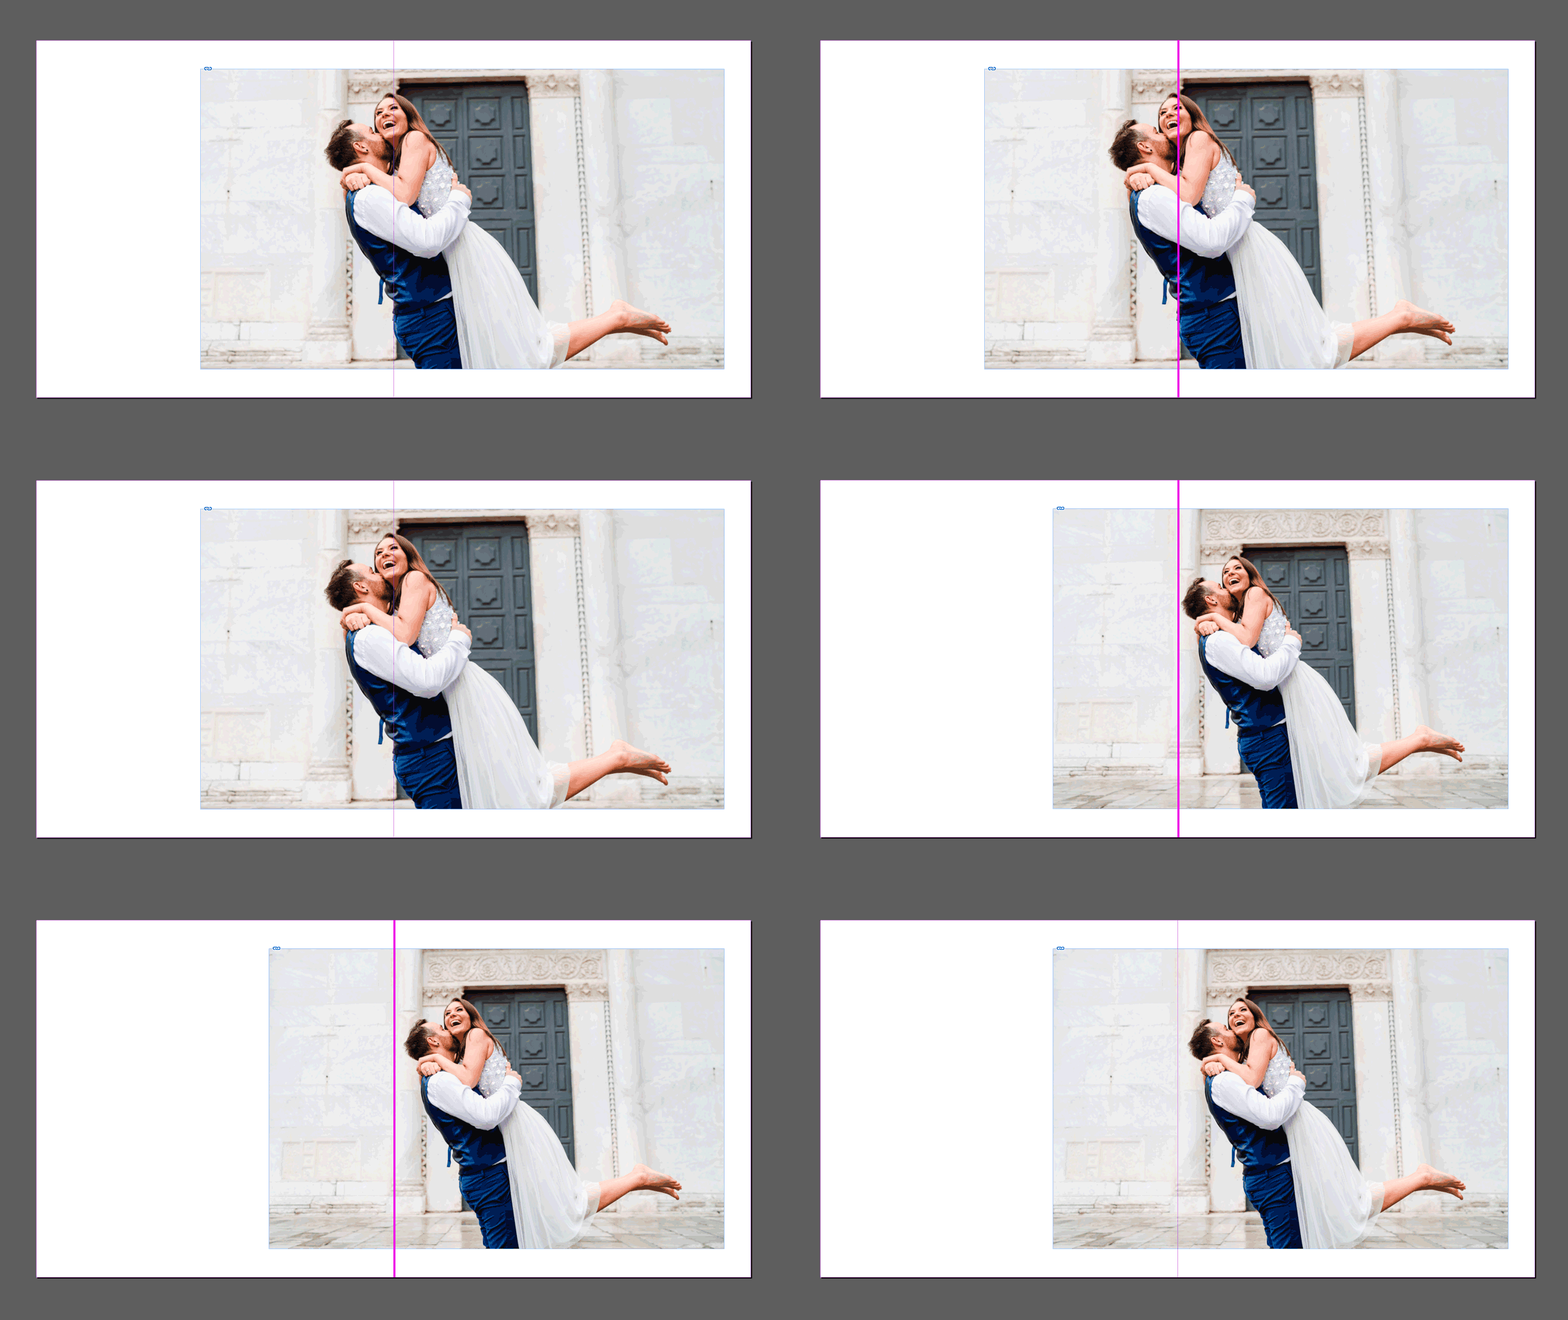
All our albums are lay-flat albums. Photo’s can be place over the fold of the spreads. It’s good to keep the fold in mind, when designing the album. Don’t place heads or eyes in the center of the fold.

BLACK BACKGROUNDS
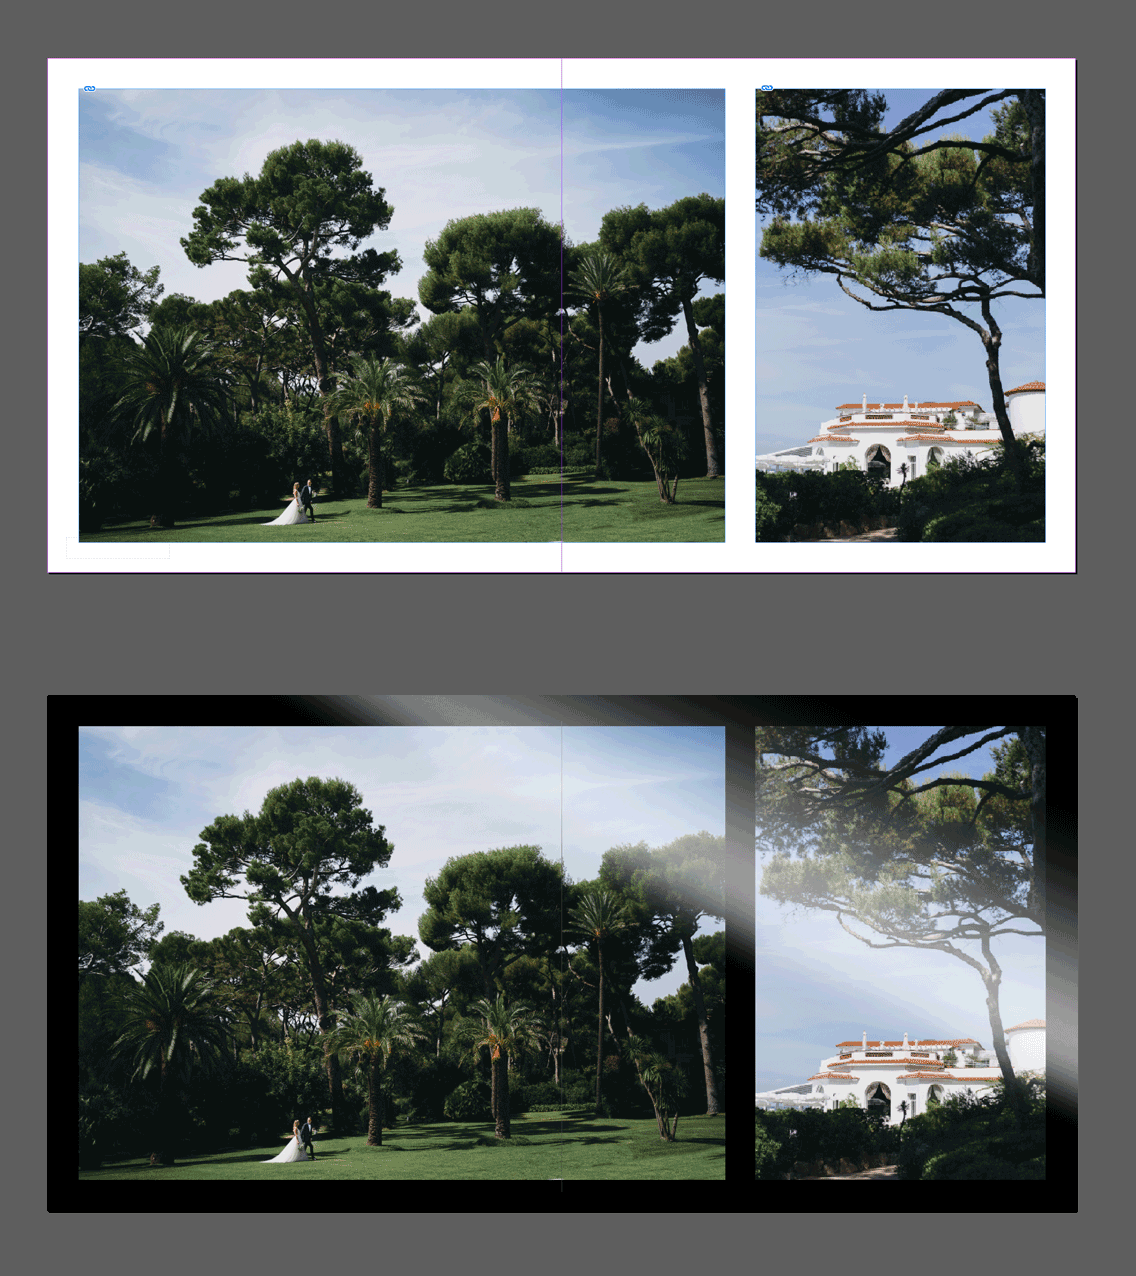
Black background are only possible on Photo Paper Luster / Glossy. On Fine-Art paper black backgrounds are not possible. Large black/dark areas in Fine-Art prints are easy to scratch. If you want to design your album with black backgrounds, order it on Photo Paper, it will look great.

CENTERED PHOTOS
Keep the center of your spread in mind when designing a photo album. Most designer software give you guides for the center of your spread. But it is never bad to check and measure, to make sure your photo’s are centered when you want them to be centered.
Template dimensions
We use only 3 album size templates. Square, landscape and portrait albums: 30×30, 40×30, 30×40. Spreads for smaller size books are downscaled to the desired book size.
- Square: 610x305mm @300 DPI sRGB / 7205×3602 px
- Landscape: 813x305mm @300 DPI sRGB / 9602×3603 px
- Portrait: 610x407mm @300 DPI sRGB / 7205×4807 px
#dutchinkalbums
exclusive photo albums


